Sakai Tutorials
Create Custom Link to a Folder in Resources
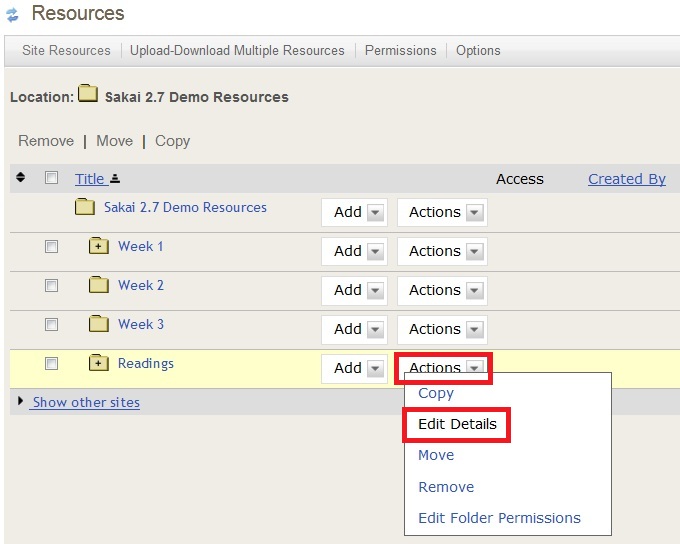
A custom link uses the Web Content tool to create a link on the left Side Menu where default tools such as Announcements, Calendar and Resources are located. You may link to many things including other websites or files. This tutorial will explain specifically how to link to a folder located in Resources. First, go to Resources and choose the folder to which you would like to link. 1) Click Actions and choose Edit Details from the drop down menu.
2) Scroll down to the bottom of the page. Click Select URL for Copying and copy the link (PC: Ctrl + C, Mac: Command + C).
3) Click Site Info on the left Side Menu. Then, click Edit Tools.
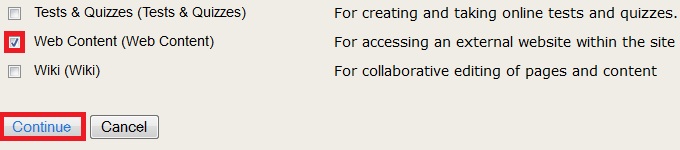
4) Scroll down to the bottom of the page and check the box next to Web Content. Then, click Continue.
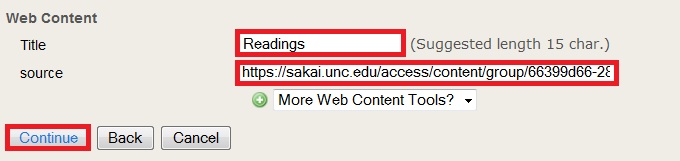
5) Chose a title for the link (e.g. 'Readings'). Paste the link you copied previously into the source box (PC: CTRL + P, Mac: Command + P). Then, Click Continue.
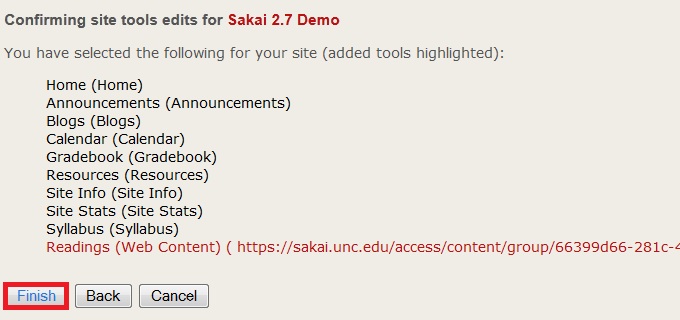
6) Click Finish to complete the process.
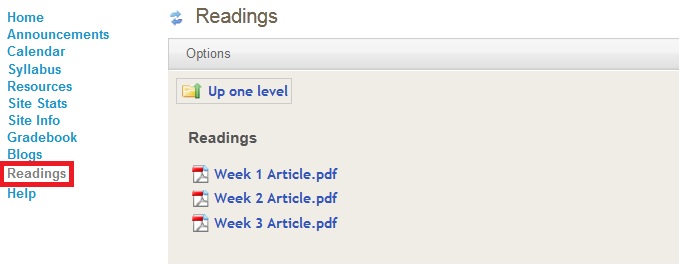
7) Your custom link will now appear on the Side Menu. Click the link to view the content in the folder.
|


© 2024 The University of North Carolina at Chapel Hill Sakai Tutorials by University of North Carolina at Chapel Hill is licensed under a Creative Commons Attribution-Non Commercial-Share Alike 3.0 Unported License. |